Migrating from Xero to QuickBooks Online (QBO) can be a significant step for your business. This move often stems from the need for enhanced US-specific features, improved integration with other Intuit products, or access to QBO’s vast ecosystem of third-party apps.
While the process may seem daunting, with proper planning and execution, you can ensure a smooth transition that maintains your financial data’s integrity and minimizes disruption to your business operations.
Steps to Migrate from Xero to QuickBooks Online
This comprehensive guide will walk you through the key steps to the QuickBooks data conversion services process, highlighting important considerations and potential challenges.
1. Pre-Migration Planning
The success of your migration largely depends on thorough planning. This initial phase sets the foundation for a smooth transition and helps identify potential hurdles before they become issues.
Assess Your Needs
Begin by clearly articulating why you’re making the switch to QBO.
Are you looking for specific features not available in Xero?
Do you need better integration with other financial tools? Understanding your motivations will help guide your decision-making throughout the process.
- List the Xero features you currently rely on and research their QBO equivalents.
- Identify any gaps in functionality and determine how you’ll address them.
- Explore QBO’s app ecosystem to see if there are integrations that could enhance your workflow.
Set a Timeline
Timing is crucial for a successful migration. Choose a period when your business typically experiences lower activity to minimize disruptions.
- Outline a realistic timeline for the entire migration process. Depending on the complexity of your data, this could take anywhere from 2 to 6 weeks.
- Set a specific go-live date, ideally at the start of a new financial period (e.g., the beginning of a month or quarter).
- Build in buffer time for unexpected issues or delays.
Prepare Your Team
A successful migration requires buy-in and cooperation from your entire team. Clear communication and proper training are essential.
Notify all relevant staff members about the upcoming change, explaining the reasons and benefits.
Assign specific roles and responsibilities for the migration process. This might include data export, verification, and post-migration testing.
Schedule training sessions for your team to familiarize them with QBO’s interface and workflows.
2. Data Audit and Cleanup
Before exporting data from Xero, it’s crucial to ensure that your financial records are accurate and up-to-date. This step will save you time and headaches later in the process.
Review Your Xero Data
Start by thoroughly reviewing your Xero data to ensure its accuracy and completeness.
- Run reconciliation reports for all accounts to ensure they’re balanced.
- Check for and resolve any outstanding issues, such as unreconciled transactions or incomplete records.
- Review your chart of accounts for any redundancies or outdated items.
Reconcile accounts using the reconciliation feature available in Xero.
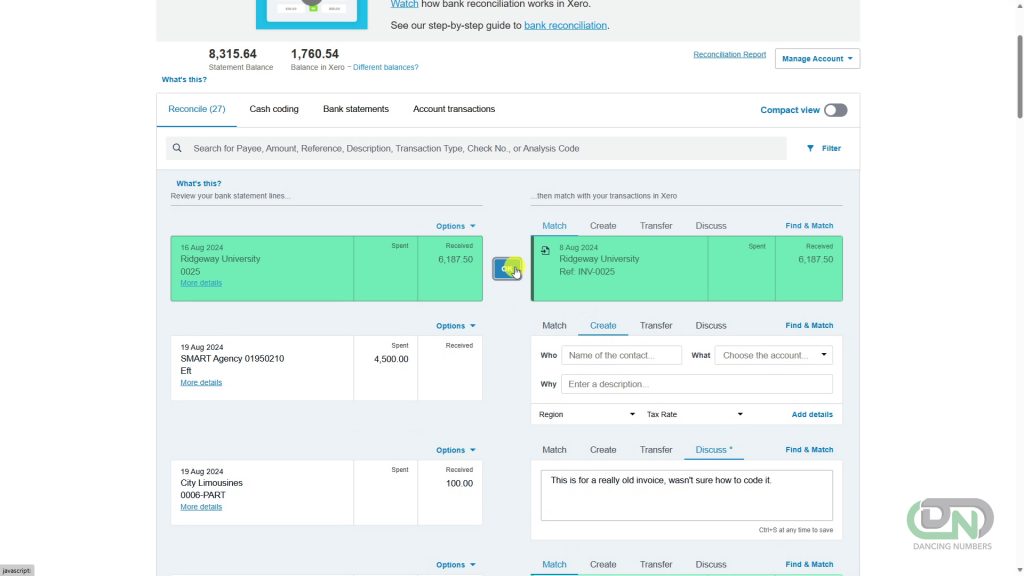
Run a reconciliation report to finalize the data in Xero.
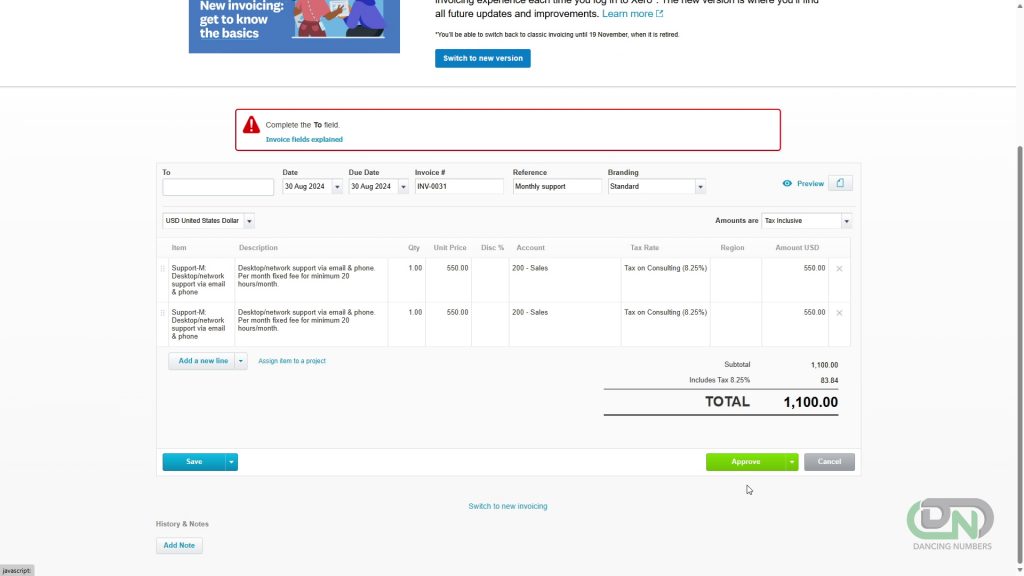
Standardize Data
Consistency in your data will make the migration process smoother and reduce the likelihood of errors.
- Establish and apply consistent naming conventions for customers, vendors, and accounts.
- Update contact information for customers and vendors to ensure it’s current and complete.
- Review and standardize product and service item descriptions.
3. Xero Data Export
With your data cleaned and standardized, you’re ready to export it from Xero. This process involves exporting various types of data that you’ll later import into QBO.
- Export Your Chart of Accounts:
- Navigate to Accounting > Chart of Accounts in Xero.
- Click on the “Export” button and save the file.
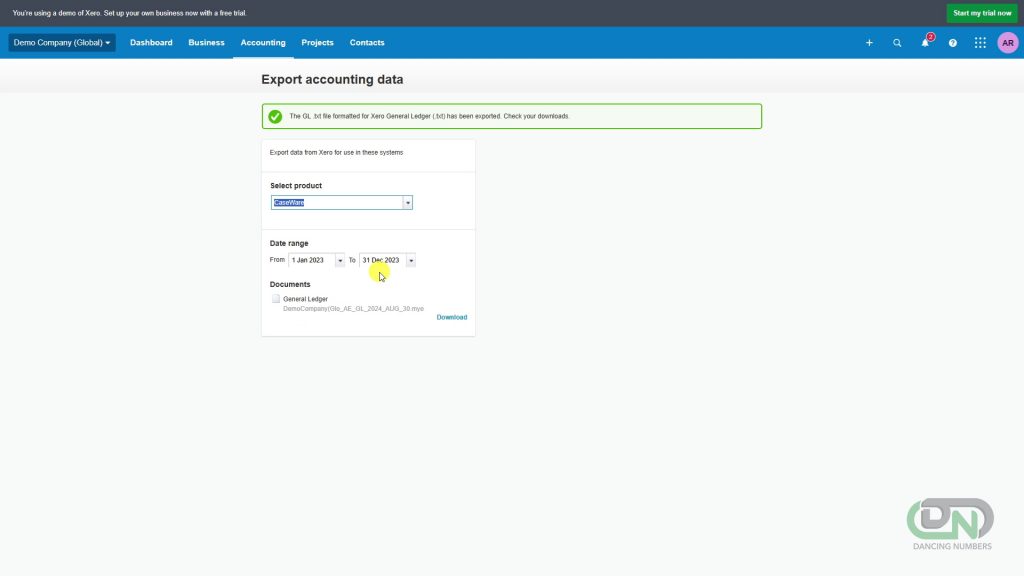
- Export Contacts (Customers and Suppliers):
- Go to Contacts > All Contacts.
- Use the “Export” option to download a CSV file of all contacts.
- Export Products and Services:
- Navigate to Products and Services.
- Use the export function to download your item list.
- Export Transactional Data:
- Go to Accounting > Reports > All Reports.
- Generate and export reports for Sales Invoices, Purchase Bills, and Bank Transactions.
- Export Key Financial Reports:
- Generate and export your Balance Sheet and Profit & Loss Statement.
- Export Aged Receivables and Payables reports.
Export the trial balance for matching details regarding account balances in QuickBooks and Xero.
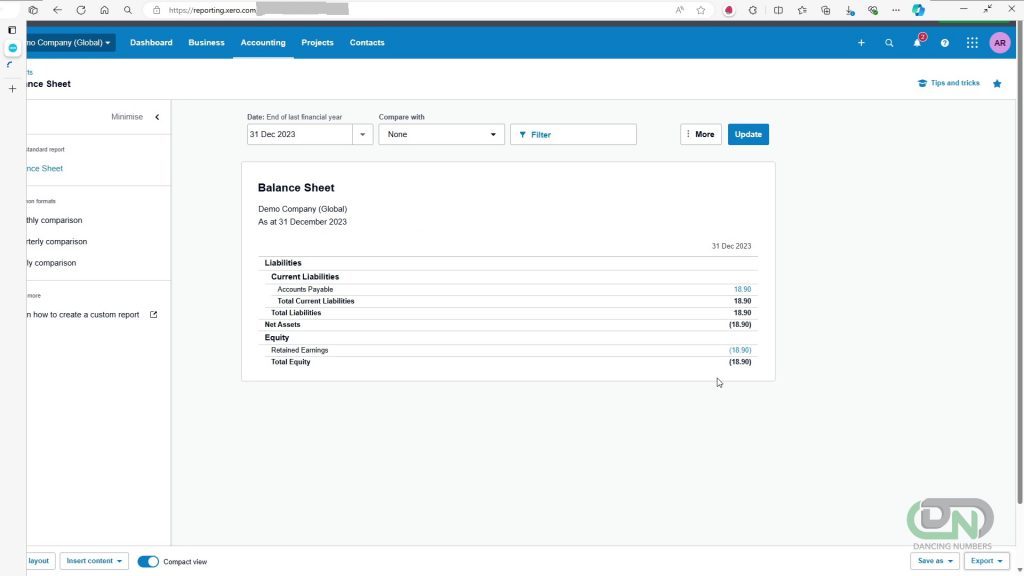
Export the profit and loss report to keep track of the net income.
Ensure all exported files are saved securely and are easily accessible for the import process.
4. QuickBooks Online Setup
With your Xero data exported, it’s time to set up your QuickBooks Online account. This step involves configuring your company settings and preparing QBO for data import.
- Sign up for the appropriate QBO plan that meets your business needs.
- Configure your Company Profile:
- Enter your company name, address, and contact information.
- Set your fiscal year and tax details.
- Set up Basic Settings:
- Configure your base currency and any foreign currencies you use.
- Set up tax rates applicable to your business.
- Prepare Your Chart of Accounts:
- Review the default QBO chart of accounts.
- Plan how you’ll map your Xero accounts to QBO account types.
By carefully setting up your QBO account, you’ll create a solid foundation for importing your Xero data and ensure that your new system is tailored to your business needs from the start.
5. Data Import to QuickBooks Online
With your QBO account set up, you’re ready to begin importing your Xero data. This process requires careful attention to detail to ensure all your financial information transfers accurately.
- Import Your Chart of Accounts:
- Go to the COA section in QBO and use the import function.
- Map your Xero accounts to the appropriate QBO account types.
- Review and adjust account settings as needed after import.
- Import Customers and Vendors:
- Use QBO’s data import tool to upload your customer and vendor lists.
- Ensure all crucial information (e.g., contact details, payment terms) transfers correctly.
- Import Products and Services:
- Upload your item list using QBO’s import function.
- Verify that prices, descriptions, and categories are accurate.
- Import Historical Transactions:
- Determine how much historical data you need in QBO. Consider QBO’s transaction limits and your reporting needs.
- Use QBO’s built-in import tools or consider third-party apps for bulk transaction imports.
- For older transactions, you might choose to summarize them as journal entries instead of importing individual transactions.
- Enter Opening Balances:
- Use the Balance Sheet exported from Xero to enter opening balances for your accounts in QBO.
- Ensure the opening balances match your Xero closing balances as of your chosen cut-off date.
After each import, take time to verify the data’s accuracy. Cross-check totals and balances against your Xero reports to ensure everything has transferred correctly.
6. Post-Migration Tasks
Once your data is imported, there are several crucial tasks to complete to ensure your QBO system is fully operational and accurate.
- Reconcile Accounts:
- Go through each bank and credit card account to reconcile transactions.
- Ensure your QBO balances match your actual bank statements.
- Verify Aged Receivables and Payables:
- Compare the AR and AP reports in QBO with your final Xero reports.
- Investigate and resolve any discrepancies.
- Set Up Integrations:
- Connect your bank feeds to ensure ongoing transaction import.
- Set up any necessary third-party app integrations you identified in your planning phase.
- Configure QBO Settings:
- Customize invoice templates to match your brand.
- Set up user permissions for your team members.
- Configure any automatic features like recurring transactions or reminders.
7. Testing and Training
Before fully transitioning to QBO, it’s crucial to thoroughly test the system and train your team.
- Conduct a Parallel Run:
- For a short period (e.g., a week), process transactions in both Xero and QBO.
- Compare the results to ensure QBO is producing accurate data.
- Provide Staff Training:
- Organize hands-on training sessions for your team.
- Cover basic navigation, daily tasks, and any new processes specific to QBO.
- Create written guides or record video tutorials for future reference.
- Develop New Procedures:
- Document new workflows and processes for common tasks in QBO.
- Update your financial policies to reflect any changes brought about by the new system.
Thorough testing and training will help ensure a smooth transition and minimize disruptions to your business operations.
8. Go-Live and Post-Migration Support
With all the preparation complete, you’re ready to fully transition to QuickBooks Online.
- Perform a Final Verification:
- Do a last check of all data and settings in QBO.
- Ensure all users can access the system with the correct permissions.
- Official Transition:
- On your chosen go-live date, start using QBO exclusively for all financial transactions.
- Communicate clearly to all staff that Xero is no longer to be used for new transactions.
- Provide Ongoing Support:
- Designate a point person or team for QBO-related questions.
- Schedule follow-up training sessions to address any issues that arise.
- Consider engaging a QuickBooks ProAdvisor for advanced support and optimization.


 +1-800-596-0806